Create A Top-Down Car Racing Game in Construct 3 - Part 1
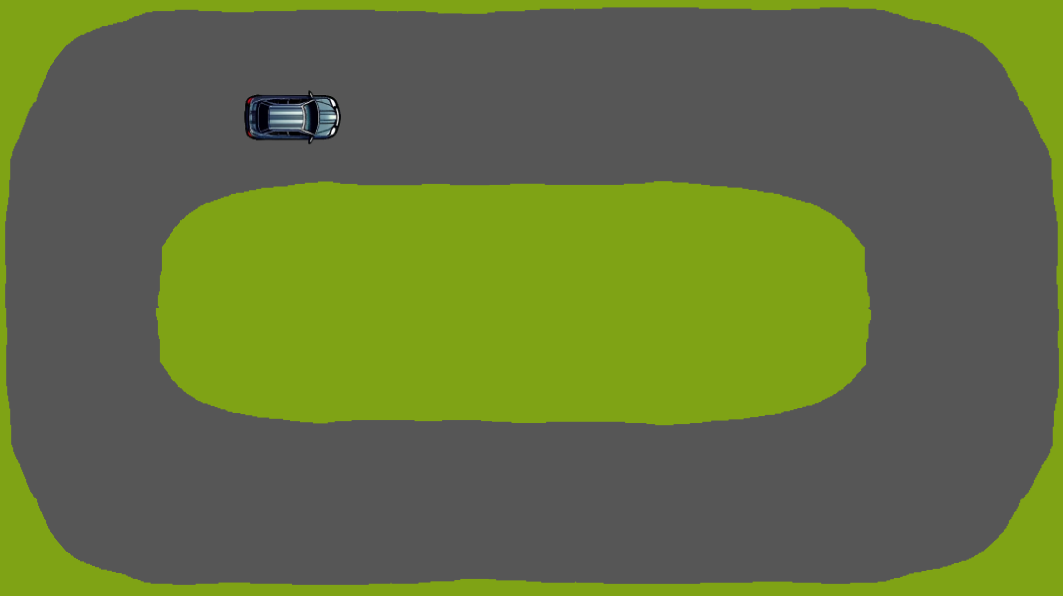
Adding the player Car
Let's start by adding a game sprite. This is the player sprite. Later on in this tutorial we are going to add the rest of the sprites.
Adding Car and Solid behavior to the car
Next we need to add 2 behaviors to the car:
- Car Behavior - it adds the physics behavior to the sprite and the controls to move the car. For the moment we are going to keep the default parameters for the car behavior.
- Solid Behavior - This will enable the collisions between the car and other solid objects. By default this behavior is not necessary because the car behavior makes the car interact with other solid objects, but not with other car objects, so by adding this we make it collide with other cars.
Creating the tracks
Now we need to create the tracks. We are going to compose the tracks from a few sprites. For this tutorial, we are going to use only a single sprite. The advantage of using sprites for tracks consists from the fact that we can add the same solid behavior we used for the PlayerCar and which works well with the collision poligon that we can define for the sprite.
For each sprite we are going to add 2 frames and we set the animation speed ot 0 to make sure the sprite stays the same. Each frame contains the same image, but we defined 2 different colision polygons, one for the outer boundary and one for the inner boundary. Then we double the track sprites in the layout and set for each piece of the track frame 0 and frame 1. Frame 0 will make sure the car collides with the outer track and Frame 1 that is collides with the inner boundaries fo the track. Only the top track sprite will be available but to improve the performance we can make the bellow layer invisible.
This is the outer boudaries frame of the TrackSprite:
And the inner boudaries frame:
An alternative way to define the sprites would be to add a layer that we make invisible, where we define the track from several collision poligons associated with a a sprite.
Adding a background and organizing the layers.
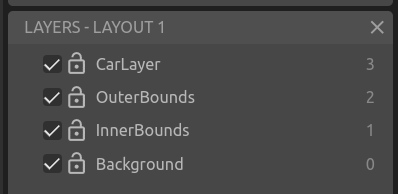
For a better structure we are going to create a few layers and a TiledSprite background, that represents the grass. We make all the layers with invisible background color, except the last one:
Stay tunned to discover the next parts of this tutorial:
- Adding more cars
- Adding AI to opponent cars
- Adding power ups

Using DrawingCanvas to take a snapshot of a Canvas in Construct 3
In this Construct 3 tutorial you can learn how to take a specific screenshot from your game canvas, or a snapshot of a specific area and how to resize it or keep it in the same resolution and download it from the browser.
How to Create a Roller Coaster Game in HTML5
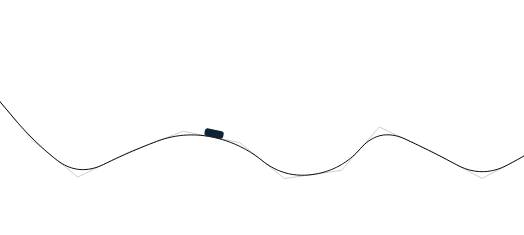
You can learn here how you can develop your own roller coaster game in HTML5, writing it from scratch in typescript or javascript. This tutorial is structured in 3 sections: Drawing Rail Segments, Generate Roller Coaster Rail Using Bezier Curves and Implementing the Roller Coaster Physics.
Create a speed typing game in javascript
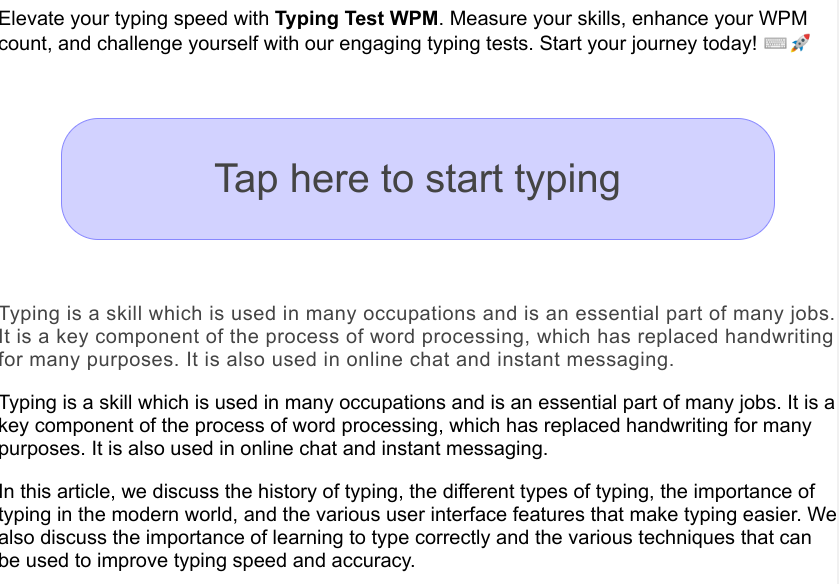
In this tutorial we are going to create a simple typing game that will measure our typing speed and skills. We are going to use only javascript and jQuery(it’s not really needed, but it will make our typing game less verbose so we can focus on the rest of the application.

How To Create Classes in ECMA5 in CreateJS Style
Explore the fundamentals of creating classes in ECMA5 styled after CreateJS. Learn about the intricacies of ECMA5 prototype-based object-oriented language and the art of emulating class inheritance. Understand the role of namespaces, anonymous functions, and constructors, offering you an alternate way to define classes, which is particularly handy if you are still working with game frameworks that do not fully support ECMA6. A clear understanding of these concepts will significantly elevate your HTML5 game development process.